
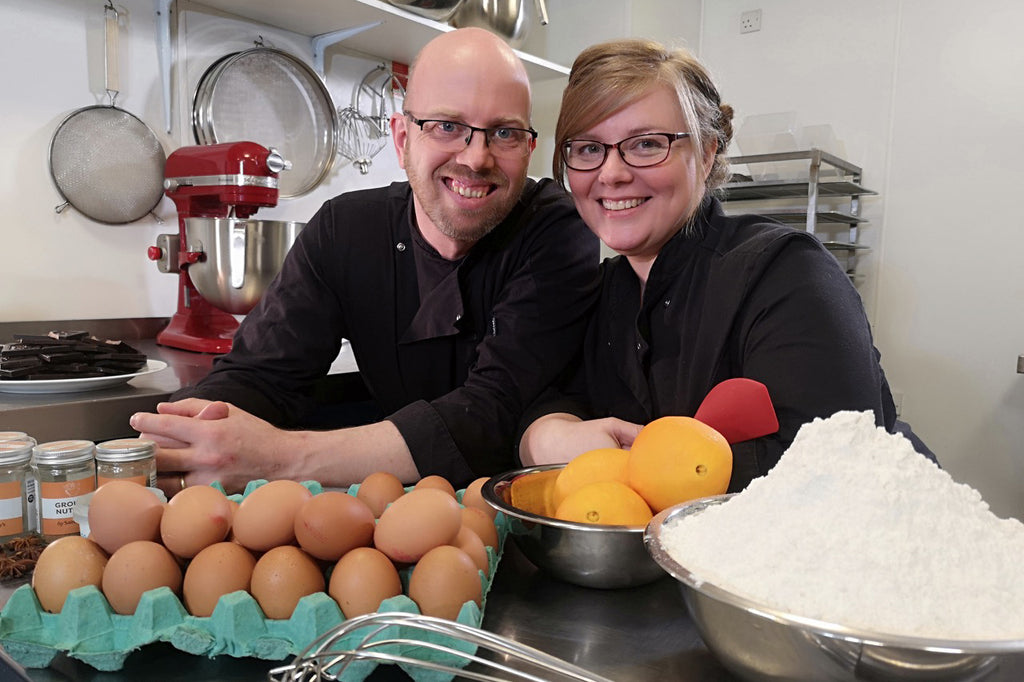
This month, we are pleased to welcome Christine and Phil Jensen of Peboryon in the UK as our featured guest artists. Christine and Phil are renowned for their stunning wedding cakes, outrageous sculpted cakes, and for their regular appearances on the hit TV show Extreme Cake Makers. Today they're going to teach us the ins and outs of sculpted cake making using their beloved Ruby the Hippo cake.
A bit about us
Our cake design studio is based in Penzance in Cornwall in the UK. (Yes, it’s where Poldark is set and filmed). It’s a stunning, out of the way, rugged, coastal place to live, and just about the furthest point from anywhere else in the UK! Saying that, it’s an incredibly creative place for artists, craftsmen and designers who have gathered from across the globe. We make a living from Cornwall, using fabulous local ingredients and delivering our large sculpted cakes and wedding cakes all over the UK and sometimes internationally. In 2017 we were invited to become part of Channel 4’s Extreme Cake Makers show and are now filming series 4. The cake adventure continues.
Ruby The Hippo
Having created hundreds of sculpted cakes we’ve developed our own way of doing things. So, we thought it would be fun to share what goes into each step. The cake we’ve chosen is a real commission that was created for a client in the summer of 2018. The version in this video is half the size of the original Ruby the Hippo.
Step 1: Designing your cake (time: as long as you want!)
The most important part of creating a carved cake is the bit before you start. A great cake starts off as with great design. Each aspect has to have been thought through, from the overall shape, line, look and structural considerations, to the finishing details.
Step 2: Carving and the first layer of ganache (time: 4 hours)
This is the messy part. Cake everywhere and then the ganache comes out. They key to this stage is getting the cake carved accurately and that’s where templates can play a huge part. Getting that first layer of ganache on, is an art in itself. Good tools help enormously.
Step 3: Finishing the ganache and covering the cake (time: 6 hours)
The first layer of ganache is the foundation and goes on the cake quite quickly. The second layer of ganache and the smoothing can take quite a while, but it is such an important step. The shape of the ganache will be the shape the fondant takes. If the ganache is right the fondant layer will be right too. Then it’s time to cover the amazingly complicated shape you’ve just made! Quick hands and patience are the keys to getting a wrinkle free finish.
Step 4: Finishing touches (time: 2 hours)
The finishing touches are where your cake goes from good to great. It is the observation of a well painted eye, a shiny highlight on painted toes, the curl and colour of the lash. It’s when you get to enjoy your cake, and maybe fall a little bit in love with your work!
We hope you enjoyed this sculpted cake tutorial and that you learned a lot! If you want to see more of Phil and Christine's work, find them online at these links:
Web: www.peboryon.com
Facebook: Peboryon
Instagram: @peboryon
Now go get sculpting and try out what you learned today!