Stacking and Carving on a Sugar Structure with Jamie Louks
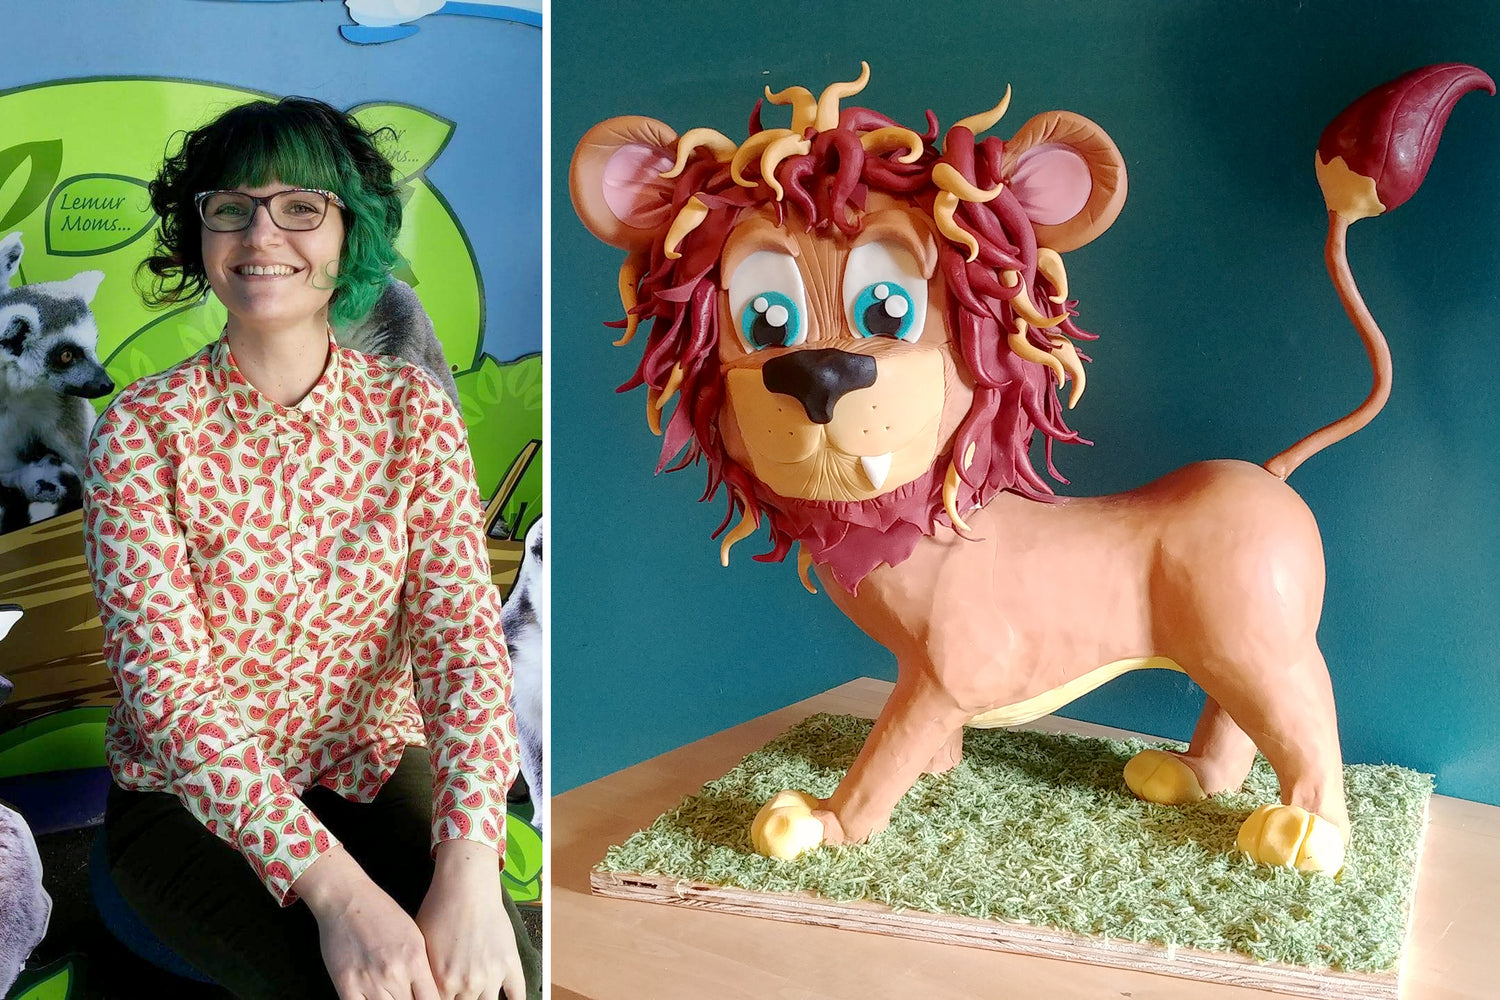
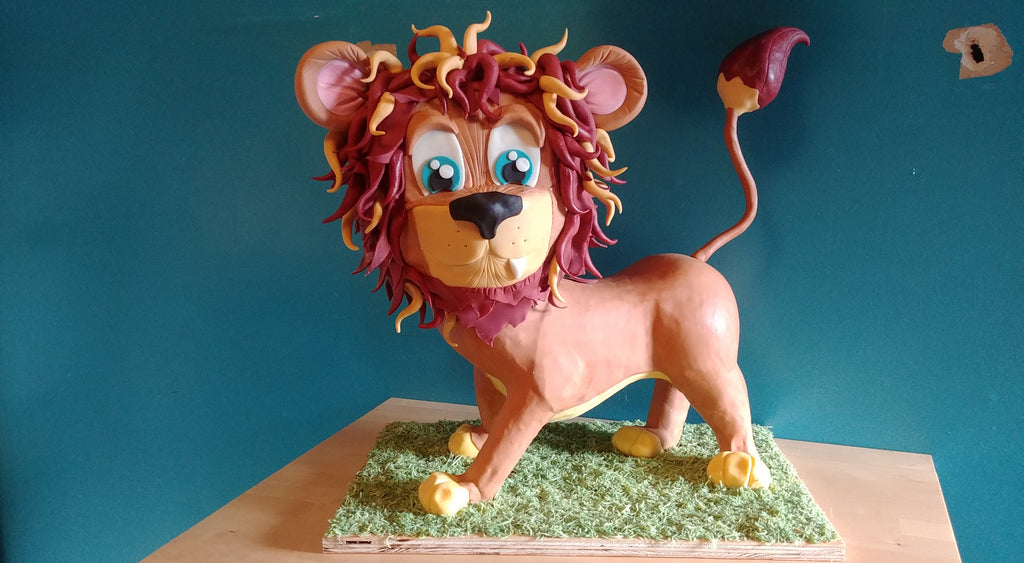
You might recognize Jamie Louks as the face of Jamie Nicole Cakes, or from her super-fab face sculpting video tutorial. Today Jamie is going to demonstrate how she stacked and sculpted cake on an Innovative Sugarworks Sugar Structure to make this adorable lion cake for a school reunion!

First things first- you've got to decide what size cakes you're going to use, and how many. This lion had to feed a lot of people, so he's got to support a lot of cake. I had a few options on how I wanted to distribute the cake, but I thought the cutest look for this lion would be a huge head with a relatively smaller body. That would give him a cartoonish, exaggerated cuteness that I thought would be a real crowd pleaser.
So I used 10" round cakes for his head and 6" square cakes for his body. I baked four of each size (the squares will get placed side by side for a 6" x 12" rectangle) and before I started stacking I used a cake leveler to level the tops flat, and to cut each cake in half for twice as many layers when stacked. Having more thinner layers serves the dual purpose of extra deliciousness (more frosting!) and making the cake easier to carve because there's more buttercream to firm up.
The next thing you've got to do is assemble your armature, affix it to your base board, and add the cake boards that will support your cake. Sugar Structures are completely interchangeable, with pre-made kits available as well as individual components. So you really can design an armature to fit your vision. For this lion, I started with the Standing 4-Legged kit and customized its head with some expansion components to support the massive cake-head I'd envisioned. If you're deviating farther from the kits, I recommend you sketch out your design, measure your sketch for scale, and put the whole thing together a few days before your cake project just to be sure everything goes the way you'd planned.
The base plate will need to be screwed into your base board. I use a power drill because it's super fast, but a hand screw driver can work, too. Assemble your armature and stand it on your baseboard so you can shift it around until you get a position you like. Then trace around the base plate and mark where the screws will go. Now take the base plate off your armature, line it up with your marks, and screw it into the board.
*Note: We recommend a 1/2" or 12mm thick plywood for the base.
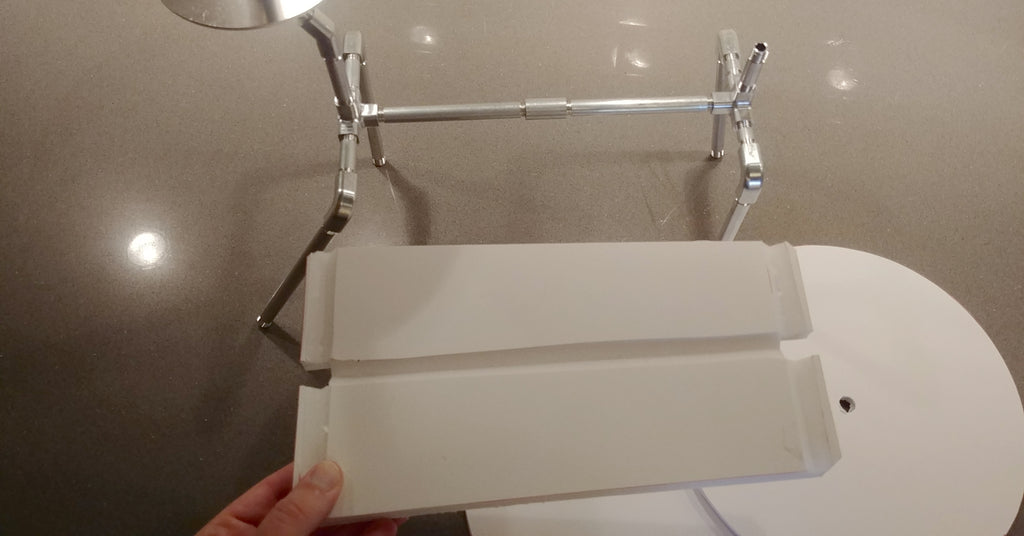
Once you have your armature constructed on your base board, it's time to add the cake board. I took the top neck segment with the head washers off so they wouldn't get in my way. For his body, I used an 11" x 5.5" foamcore board. If you recall, my body cakes will equal 12" x 6", so I've got a little overhang to cut off as I carve the body. This design is pretty stable, with his body evenly distributed on a plane parallel to the ground, so I'm just going to set one board on the frame, using ganache to help adhere it. It's a little hard to see in the video, but I've carved out gullies for the armature to nest in so the board sits firmly in place. I'll include a still image so you can see:

The weight of the cake will keep the board in place pretty darn well, but later I'll add crispy rice treats to the underside for further stability (as well as to shape his belly!)
Next you'll stack your cakes on his body board. This is mostly just like stacking any cake. The only real difference is the rods for the neck and tail sticking up. I just slid my cakes over them, but you want to exercise care when you do this so your cakes don't break apart. If you're worried about the damage, you can also cut a small piece of cake out before you stack each layer. I alternated the filling of each layer between a strawberry buttercream and a lemon basil curd. You'll notice after the second layer my cakes were level with the end of my tail rod. At this point I added in the wire that will be his long, tufted tail. Then I just continued stacking until all my cakes were on.
And now we carve! Carving is where you first really start to exercise your artistic eye. If you're having trouble envisioning the shape your cake needs to become, reference images can be super-duper helpful. This can be a drawing you've made of your cake idea, or photos and graphics from books or the Internet. Any of those will give you a good image to compare your work to and keep yourself on track.
Here are some tips that I've found useful:
- Start with your cake as cold as possible. The colder your cake is, the firmer it will be and the cleaner your cuts will be.
- Use a long, thin knife with a little flex to it. (Bread knives generally work well).
- Carve at an angle rather than straight up-and-down. This will give you smoother lines, more organic shapes, and lessen the risk of accidentally cutting off too much.
- Use small cuts! It's easy to keep carving more off, but not so easy to add cake back on. So cut small amounts off and go slowly.
- Save those scraps! (Ok, you can eat a little, but save most of them- they're super useful) Mash your scraps up with some buttercream like you're making cake pop dough. This is now an excellent building medium for adding shape to your sculpted cake! You can see in this video that I added some at the front and back of the body to build up his shoulders and rump.
Once I had his basic body shape carved, I used RKT to form his legs and the underside of his belly. Using cake for these small parts is problematic and usually isn't worth the trouble for the small amount of servings you get out of it. You can use modeling chocolate for these if you prefer, but like I've mentioned- I love RKT. I used a white chocolate ganache to help adhere the RKT to his body board and to add firmness and stability.
Next, I went back in with a smaller knife to refine the shape of the body and legs. Once it was where I wanted it, I covered the whole thing in ganache and smoothed it out with my Sugar Smoothers.
Now I'm ready to work on the head. I used 6" and 9.5" foamcore rounds for my cake boards for the head. The 6" will go at the bottom and the 9.5" will be in the mid-point, or widest part, of his head. I prepped my round cakes by doing an initial basic carve on my Turntable Expander before I stacked them on my lion.
Once I've prepped my rounds, I can stack them on my Sugar Structure. I've got a 4" Sugar Structure washer at the base of his neck to give me a stable, flat surface for my first round cake board (the 6" one). At this point I stack and fill my layers just like any cake. When I've got half of my rounds stacked, I'm ready for my 9.5" cake board. I used bubble tea straws to support the weight of the upper head cake, just like you would if you were stacking a normal tiered cake. And before I placed the 9.5" board, I added another 4" Sugar Structure washer for added support and stability.
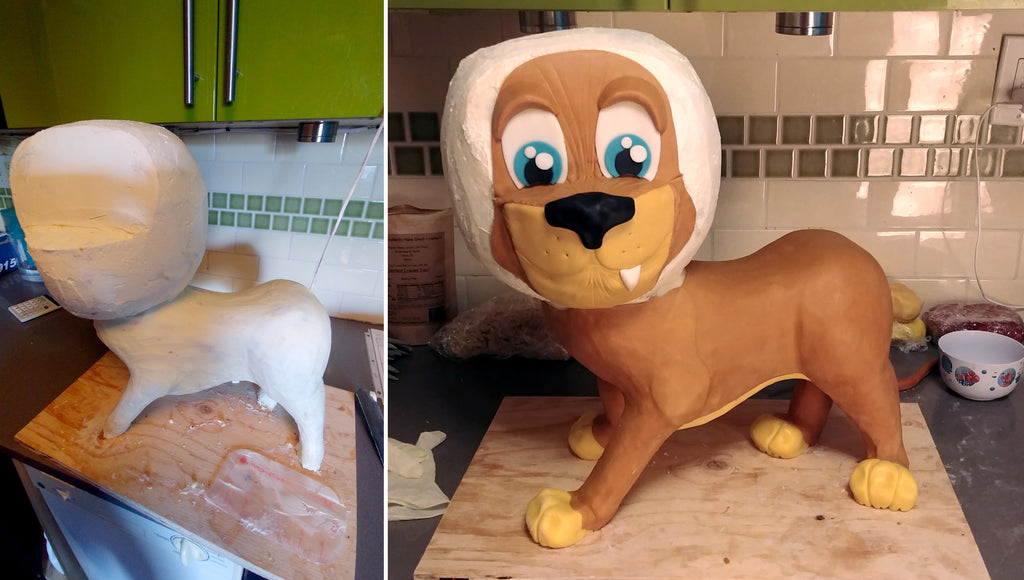
Now all that's left is carving this sphere into a more head-like shape. The same carving tips as above apply here. And just like the body, once I had the shape where I wanted it I covered the whole head in ganache and smoothed it out.
His head looks surprisingly geometric before I put his face on, but once you've made a couple sculpted character cakes you'll get the hang of how much detail you really need in your carving and how much is really about modeling the fondant blend you cover with and the outer components and accessories.

That's all folks! I hope you found this tutorial helpful and informative, and I hope you're all jazzed up to try your own sculpted cake now!
If you want to keep up with my latest creations and tutorials, follow me on social media!
Facebook: Jamie Nicole Cakes
Instagram: jamienicolecakes
Products
View all
